I’m using the new Gutenberg editor for WordPress happily and successfully. I have a couple of issues, however. I was told to submit them on Github, but I have no idea how or where to do that, so I’m just leaving it here. I hope someone is listening.
Continue reading “My Wish List for Gutenberg”Category: blogging
Dinner with Jetpack

The head of the Jetpack team lives in Albuquerque. I live in Albuquerque. When the Jetpack group got together for a meetup of their own in Albuquerque, they decided to invite the entire WordPress community to a Dinner with Jetpack meetup.
The meetup was in a Thai restaurant near the UNM campus. Jetpack people from all over were there. Australia, Argentina, and several other far-flung locations. I talked with the guy from Australia about ways Jetpack could get Pinterest to work with WordPress without adding blocks of code to new posts. He gave me some ideas I will try.
I talked to a woman from Wyoming who works in HR and hired all these Jetpackers. She came down to ABQ to meet them in person.
It’s refreshing to go to a WordPress meetup, but this one was particularly nice because so many people came. I talked to bloggers, WordPress developers, and WordCamp organizers. I saw some former students. I saw people I’d met at WordCamps. I even saw a woman who was in the same hotel in Chicago as a BlogHer convention I attended and happened to be on the same plane home that I was on. Everyone wanted to talk about blogging and social media and topics I love.
Thanks to the Albuquerque WordPress community for a great evening.
Wordcamp Albuquerque 2016
The night before the event, there was a planning meeting for the volunteers.

Sheelah and Alonso at the planning meeting.
Marketing Your Business with WordPress
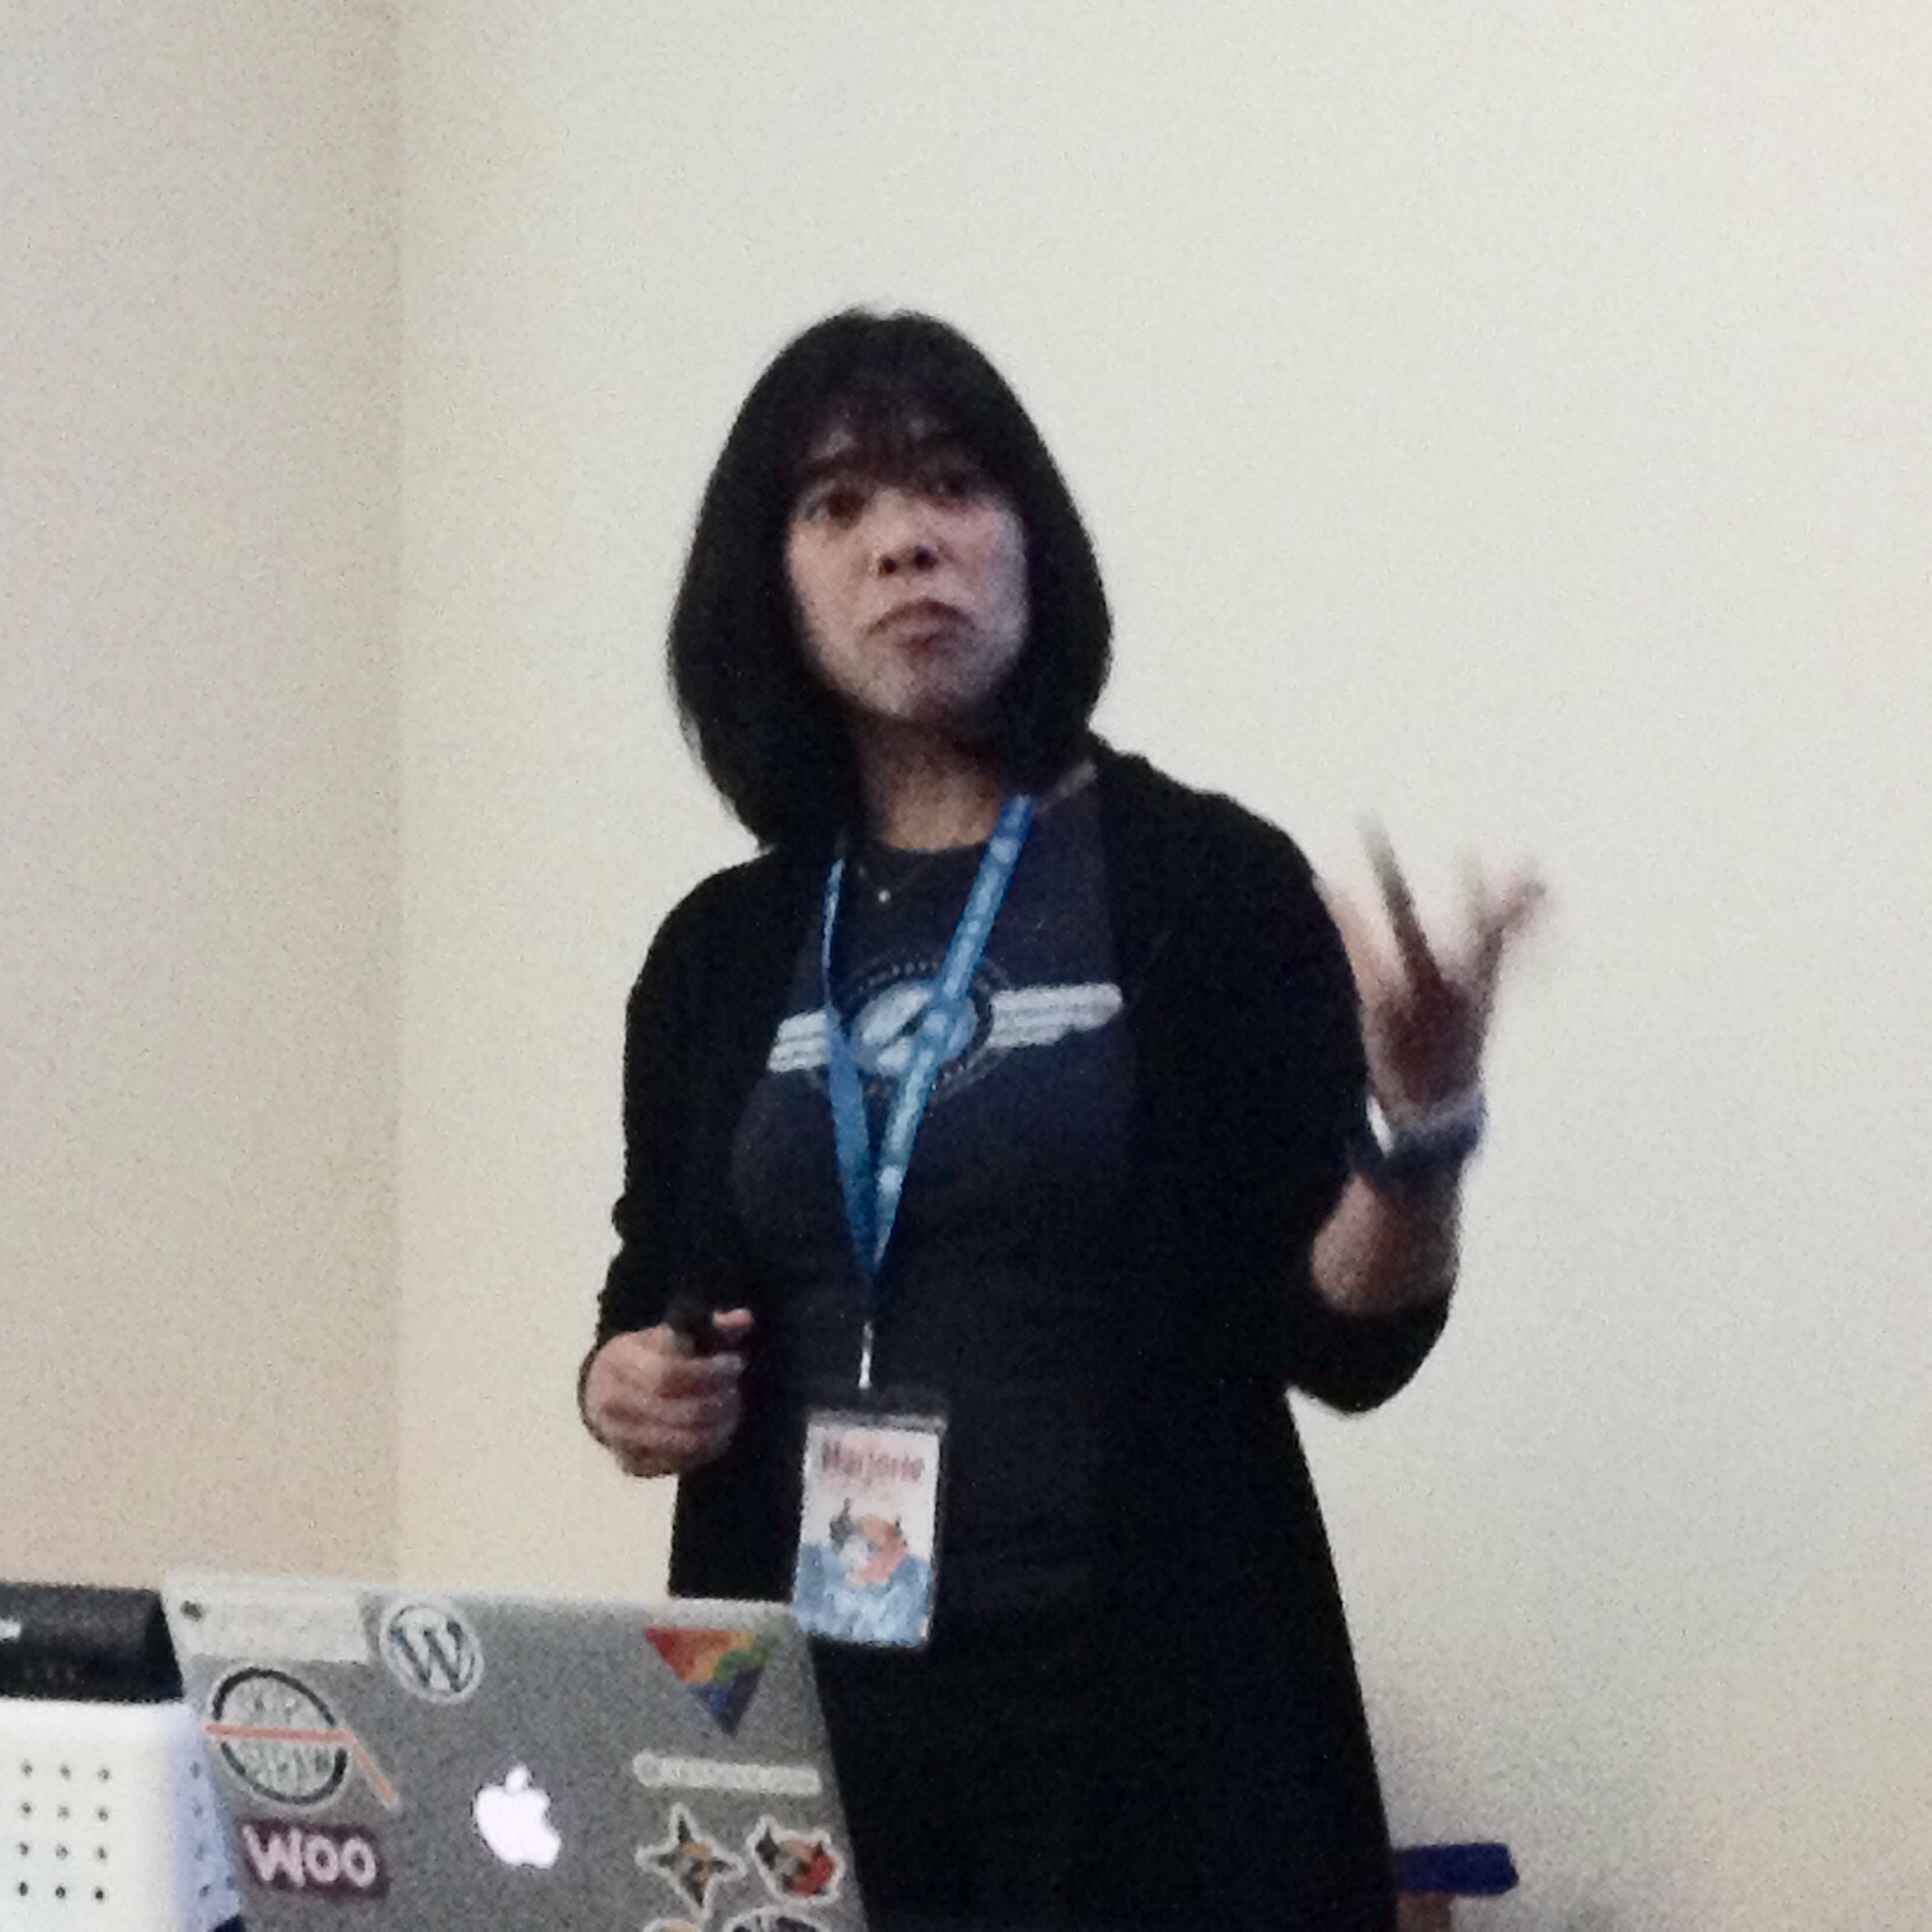
Marjorie R. Asturias presented this talk.
Marjorie emphasized the importance of the home page, the about page and the contact page. She explained when a blog could be useful to your business.
Getting into CSS

Eric Debelak gave this talk. He explained how to find selectors being used on a WordPress site using a web inspector so that they can be modified. He explained how to set up a child theme so that you could create new CSS for your theme.
He mentioned something that I didn’t know: Albuquerque residents with a library card get free access to lynda.com.
Break Time

Ingrid and Elaine were great chat partners during break time. Ingrid showed me how to use the web inspector in Chrome, which was very helpful.
During lunch I chatted with a woman from Denver named Sue. She drove down specifically for Wordcamp and was happy with what she was seeing.
WordPress.com for Business Sites

Elizabeth Urello gave this presentation. I’ve been inspired by her at previous Wordcamps and was looking forward to this one.
She talked about how to set clients up on WordPress.com in a way that enables them to maintain and keep the site updated themselves. She mentioned how beginner friendly and secure it is. WordPress.com has many new capabilites as well.
Wohoo! You Have Your First Website Up and Running. Now what?

This talk was from Mark Carrera. He talked about what you do in the in-between states of website building. What you do between deciding to build the site and getting it running. He works for a school and emphasized the importance so far fresh content on a website.
Unlocking WordPress as a Framework

Danny Santoro talked about the components of WordPress and how those components can be used to build any sort of website you want. He talked about themes as for styling and display, not for functionality. He described some of the components to pull from.
Project Management 3 … 2 … Launch!

Hilary Fosdal spoke about the business of building websites rather than the development of the website. She talked about process – client intake forms, payment schedules, and business matters like that. Her talk was brilliantly organized and delivered. She should write a book about business process for creative firms.
This was my experience and my day at this year’s Albuquerue Wordcamp. Everyone has their own experience at these events, but you always come away with new information and new contacts and acquaintances. If there’s a Wordcamp anywhere near you, you’ll find it worth attending..
Is Twitter the New Long Form? – UPDATED

I follow several social justice leaders and activists on Twitter. I have noticed that they use Twitter in a way that is different from in the past.
In the past, tweets were singular events – a comment, a link, a share of some sort. A lot of people, myself included, still use Twitter that way.
The activists using Twitter now use it as a long-form platform. They pick a topic and tweet about it at length. Dozens of tweets in a day. If you stumble onto Twitter in the middle of one of these tweeters making a point, you must to go back, find your way to the beginning, find your way through the thoughts and watch to keep up. It often requires looking at whole conversations, checking for replies and questions, and then going back to the main thread.
Since most people are not watching Twitter 24/7, this approach requires some work for the people who may care about what is being tweeted, but it offers some advantages.
For the readers, a blog post would be easier to follow. All those thoughts could be put in one post, in the right order, and sent out. But easy isn’t the point. Advocacy is the point. Change is the point. Being heard right now is the point. Interaction is the point.
Twitter offers immediacy. There’s immediate feedback, immediate retweeting, immediate sharing of voices and information. Twitter is engaging. Many people can think and talk about an event or an idea in real time.
Twitter is forgiving of speed. Typos, awkward phrases, abbreviated thoughts are overlooked in the name of speed. There’s no need for polish.
Who would have imagined, when Twitter began, that it would become the long form discourse platform of choice for social change?
Update 8/26/15
Thanks to @redcrew, who just alerted me to Introducing the Tweetstorm. This article proposes a solution to the problems I outlined above for anyone trying to either write or follow a series of tweets on a particular topic. The developer, Daniel Rakhamimov, suggests a way to connect a series of tweets automatically through what he calls a Tweetstorm. His idea has many advantages to both readers and writers when Twitter is used as a longform medium. It’s a must read article and a great idea!
Manage Convention Contacts with Twitter Lists and Feedly Categories
You’re going to a great conference. You’re going to do lots of networking. The stack of business cards you accumulate will be enormous. Here are a couple of tips to help you keep all those names, faces, Twitter handles, and URLs straight.
Twitter Lists
Twitter lists are easy to create. They provide a way to read Twitter feeds from people according to groupings or interests. You don’t even have to be following them. You might have a list of food bloggers or tech bloggers or some other category of Twitter users. When you view the list you see tweets only from the specific people you added to the list.
When someone hands you a business card at a conference, you can quickly add their Twitter handle to a list. That will help you keep names and faces organized.
You can create a list and add to it from a desktop browser or from a mobile Twitter app. Let’s step through creating a list with a desktop browser first.
Create a list with a desktop browser
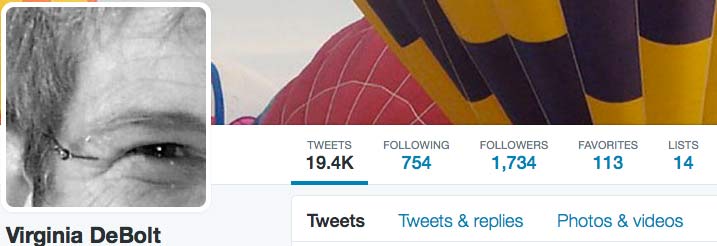
Sign in to your Twitter account in a browser. Here’s mine as an example.
In the menu bar opposite your profile photo, click the Lists link. When the Lists page opens, you’ll see any lists you subscribe to (you can subscribe to any public list, including your own), any lists you’ve been added to as a member, and the invitation to create a new list. Once you have lists created, this is where you would find them in your desktop browser.

Click Create new list, give the list a name, and you can begin adding Twitter accounts to it.
When you create a new list, you can make it public or keep it private. If it’s a public list, it has a URL and anyone who is interested can subscribe to it. For example, here’s one of my public lists: womeninwebeducation.
To add someone to a list, find their user profile. You can search for their name, or just click on their name if you see it on Twitter. When their Twitter profile opens, click the gear icon by the Follow button to see user options.

Select Add or remove from lists. Your lists open up and you check or select the list you want to put the user in.
Create a List with the Twitter App
Open the Twitter app.

Touch the Me icon at the bottom of the screen to see your own profile.

Touch the gear icon next to your profile image to see Lists on the menu. Touch Lists.

At the top of the Lists page, you see a plus (+) sign. Touch it to create a new list. Give the list a name and decide if it’s public or private.
Once you have lists built, this is where you would go in the mobile app to read the lists you’ve subscribed to. This is also where you can see lists you’ve been added to by someone else.
Next, add Twitter accounts to your list.

When you’re viewing the Twitter profile of the account you want to add to a list, touch the gear icon to see Add/remove from lists. Press Add/remove from lists and select the list you want to use.
In addition to viewing lists from a browser or the mobile app, tools such as TweetDeck have options that allow you to add columns for lists to your display.
Organize Blogs with Feedly Categories
Feedly is an RSS feed reader. There are many such tools, and you may already be using one to keep track of blogs you want to follow. The reason I mention Feedly in particular is that it offers a way to organize blog feeds into categories. You create categories yourself, or you can use Feedly’s suggestions for categories such as Food, Fashion, Books, or whatever.
Feedly has both a mobile and a desktop version, which makes it easy for you to take those conference contacts you made and quickly add blog URLs to the proper categories. In addition, there’s a pro version of Feedly ($5 a month or $45 for a whole year) that connects to Evernote where you can write notes or save snippets from blog posts.
You can login to Feedly with your Google ID or your Facebook ID.
Using Feedly on a Desktop
I logged in and customized my view a bit, which explains the orange. Hope you like orange as much as I do.

At the Home page, there’s a menu on the left. It shows you the 3 categories I have so far: Cinema, Culture and Pop Culture. So far I only have a few blogs in each category. When the home page opens, all the unread feeds from everything appears, but I can click on any one of the categories or blogs and see only that.
Feedly has many categories you can browse, or you can make your own. Feedly calls these Collections. To quickly add a specific blog, find the search box on the upper right. Type in the URL of the blog you want to add. I typed www.theculturemom.com.

The search brought up the feed from The Culture Mom. Next to the name of the blog at the top you see a button with +Feedly. I click that to add this blog to one of my collections.

I select the collection I want. Or I can add a new category.
Using the Feedly App
On your mobile device, the Feedly app takes some practice to get used to the way it swipes, but you’ll get the hang of it quickly.

It opens with all your unread posts. A menu at the upper left reveals your specific collections and blogs, which you see opened above. At the upper right, there’s a magnifying glass. Touch that to quickly add a blog.

The search box opens, where the URL of the blog you want, e.g. theculturemom.com, can be added. Feedly also suggests blogs it thinks you will like. When the search results appear, you see a plus (+) sign at the top near the name of the blog feed. Touch that plus sign and add the blog to the appropriate collection.
It only takes a few seconds to add the information from a business card to a Twitter list or Feedly collection. If you do it while the person who gave you the card is still fresh in your mind, it will help you remember who you’ve talked to, what their interests are, what their blog is about, and it will give you a way to keep an eye on their tweets. Then you can concentrate on having a great conversation with the next person you meet.
[NOTE: This post was syndicated in slightly different form on BlogHer.com.]
WordPress Basics: Categories and Tags

When new bloggers get started on WordPress, they need to understand the basics of what Categories and Tags are. Both can help people find the content they want on your blog, but they serve slightly different purposes.
Categories are big. Broad topics that will repeat again and again on your blog. For example, web education is a topic mentioned over and over again on this blog. It should be a Category.
Under the overarching Category of web education, however, there might be many specific ideas that would be used just once, or perhaps infrequently. For example, a post about web education could be something as specific as how to write good alt text or what ARIA roles are. These very specific topics should be added to the post as tags. Tags are also helpful to search engines in figuring out what a post is about.
Depending on your theme in WordPress, the categories may become part of the menu. For example, on my blog Old Ain’t Dead, I only have 5 categories. These categories are Movies, TV series, Web series, Streaming, and News. These categories are shown as a menu. On this blog, Web Teacher, I have dozens of categories and it would not be useful to list them as menu items. The categories are, however, shown in the sidebar in a pull-down menu.
Blogs can be searched by category. For example, if you select the category blogging from the list of categories on this blog, every post in that category shows up as a search result.
Tags are also searchable, for example a search on the tag alt text. The tag alt text might be used in posts in several Categories, so the search results for a tag would include posts from all those Categories.
Choose meaningful category names. Don’t create category names that convey nothing about your content. For example, category names like “This & That” or “Misc” are not helpful to your readers or to search engines.
3 Ways to Add Instagram to a WordPress Blog
There are several choices open to you if you want to bring in your photos from Instagram into a WordPress blog: You can add a badge from Instagram, use embedding, or choose from a number of plugins.

Place an Instagram Badge on Your Site
Sign in to your account on Instagram. There’s a “badges” option in the menu. A badge will put an icon on your site that links to your Instagram URL. It doesn’t bring in any images.

Select a badge type and copy the code. I selected an icon, copied the code, and pasted it into Text view in a post. What showed up was a nifty little Instagram icon that linked to my feed on Instagram.com.
If I wanted this type of Instagram badge on my blog, I’d paste the code into a text widget in my sidebar, near my other social media badges and buttons. It doesn’t make much sense to put this icon in a post, because it will get buried over time.
Embed a Single Photo
You can put a single Instagram photo into a blog post using the Instagram “embed” option. Find the icon showing three dots next to the comment box and click it to see the embed option.

Instagram gives you the option to embed a single photo. Copy that code and paste it into the Text view of your post, and the photo will show up.
Instagram’s embed feature allows you to embed other people’s photos in your blog as well. The link to the original image on Instagram is included in the embed code, and shows up when you hover over the word “Instagram.”
Having this link included with the image skirts copyright problems by linking directly to the photo on the Instagram feed of the creator of the image.
WordPress Plugins
With a plugin, you get more than just an occasional image to insert into a post. There are plugins to create image sliders, to back up your Instagram photos to your WordPress database, or to place a small gallery of photos in your sidebar; others do even more. Most of the plugins below only require your Instagram username to work. The last one I mention gives you the option to set it up using the Instagram API.
DsgnWrks Instagram Importer, according to its description, “will allow you to import and backup your Instagram photos to your WordPress site. Includes robust options to allow you to control the imported posts formatting including built-in support for WordPress custom post-types, custom taxonomies, post-formats.” This plugin also imports Instagram video. When you first launch DsgnWrks Instagram Importer, you can set up the import to filter by hashtags or by date. There are a number of custom tags you can use to control the title and content of imported images.
Instagram Picture provides a way to add Instagram images to almost any position in your blog. You can use shortcodes, widgets, and PHP to insert images with this plugin. Here’s a screenshot from the developer of one of the widget styles you can choose with Instagram Picture. This plugin also has a feature for adding individual image to posts.

Instagram Slider Widget will display a grid of thumbnails like you saw in the image above, but it also has the option to shows up to 20 images in a slider. You can set the number of images to include in the slider and set a time for how often the plugin goes to Instagram to look for new photos. Instagram Slider Widget has an option to insert the images into your WordPress Media Library, which gives you a backup of your Instagram photos.
Alpine PhotoTile for Instagram offers more options than the plugins mentioned above. It retrieves (but does not back up on WordPress) as many as 100 photos. According to the developer, “The photos can be linked to your Instagram page, a specific URL, or to a Lightbox slideshow. Also, the Shortcode Generator makes it easy to insert the widget into posts without learning any of the code. This lightweight but powerful widget takes advantage of WordPress’s built in JQuery scripts.” The lightbox feature on this plugin sets it apart from the others. Alpine PhotoTile for Instagram will insert photos in a page, a sidebar, or a post. Of all the plugins I’ve mentioned, it has the most and best reviews.
The WordPress plugin directory has many, many Instagram plugins; I’ve only scratched the surface with these four. The ones I’ve highlighted all have good reviews. I suggest you look at the number and quality of reviews when you consider any plugin. If you use a plugin yourself, it’s very helpful to the WordPress community (you) if you return to the plugin page and leave a review.
Keep in mind that a widget that doesn’t store your photos in WordPress, but instead reaches out to Instagram to retrieve photos, may experience delays in loading if the Internet is clogged up that day.
Many Instagram plugins allow you to display not only your own photos, but the photos of people you follow or photos with a particular hashtag. If you choose a plugin with that capability, check carefully for the copyright issues involved, and make sure the original creator of the image is linked to the photo. I can definitely see the value of a post with a slideshow based on a particular hashtag, say #blogher14. Enjoy sharing your Instagram photos on your WordPress blog!
GoDaddy Managed WordPress is built from the ground up for maximum performance, security and ease of use. Click here to experience the difference.